Introduction
Whether you’re flying to a race, heading overseas for a cycling tour, or just road-tripping with your bike, one of the most stressful parts of the journey is figuring out how to pack your bike safely. Modern bikes aren’t just expensive—they’re also delicate machines with fragile drivetrains, carbon fiber frames, and disc brakes that can easily be damaged if packed incorrectly.
The good news? With the right equipment and a methodical process, you can pack your bike for travel confidently, protecting your investment and making reassembly at your destination smooth.
In this guide, we’ll cover everything you need to know about packing a bike for travel in 2026:
- The types of bike cases and bags available.
- Step-by-step packing instructions.
- Tools and supplies you’ll need.
- Airline policies and fees.
- Tips for road trips, shipping, and alternative transport options.
By the end, you’ll know exactly how to prepare your bike for safe, stress-free travel.
Types of Bike Travel Cases and Bags
Before we get into the packing process, let’s look at your main options for transporting a bike.
1. Hard Bike Cases
- Best protection: Rigid ABS or polycarbonate shells.
- Pros: Maximum security against impacts, weatherproof, many come with wheels for transport.
- Cons: Heavy, bulky, often subject to oversize baggage fees.
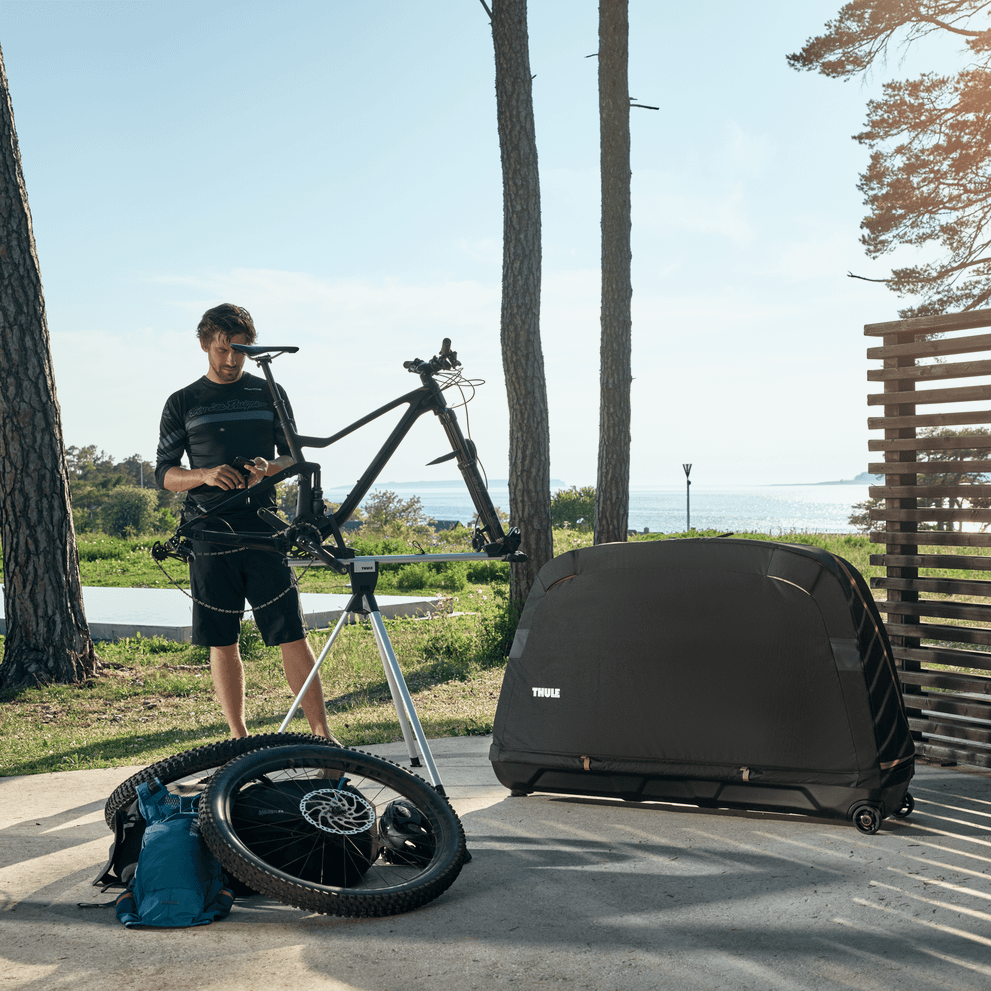
- Examples: Thule RoundTrip, B&W International Bike Box.
2. Soft Bike Bags
- Best for weight and flexibility: Padded nylon or polyester with structural reinforcements.
- Pros: Lighter, easier to store when not in use, often cheaper than hard cases.
- Cons: Less impact protection, requires careful internal packing.
- Examples: EVOC Bike Travel Bag, PRO Bike Bag.
3. Cardboard Bike Boxes
- Best budget option: Many bike shops or airlines offer cardboard shipping boxes.
- Pros: Cheap (sometimes free), recyclable.
- Cons: Offers minimal protection, short lifespan, bulky to handle.
- Examples: Standard 53”x8”x30” bike box.
4. DIY Options
- Plastic wrap and pipe insulation for local moves.
- Not recommended for air travel, but fine for same-day road trips.
Tools and Supplies You’ll Need
Packing a bike requires more than just a case. Here’s a checklist of what you should have ready:
- Bike case, bag, or box (hard case recommended for flights).
- Allen keys / multi-tool (4mm, 5mm, 6mm common sizes).
- Pedal wrench.
- Torque wrench (especially for carbon components).
- Packing materials: pipe insulation, bubble wrap, foam tubing, zip ties, Velcro straps.
- Derailleur protector (small metal hanger or plastic guard).
- Rotor guards (plastic discs that cover brake rotors).
- Small bags for pedals, skewers, bolts, and accessories.
- Sharpie + tape for labeling.
Step-by-Step: How to Pack a Bike for Travel
This is the exact sequence most pros and mechanics follow to ensure a bike arrives safely.
Step 1: Clean Your Bike
- Wipe down the frame and drivetrain.
- Dirt or grease can damage paint or scratch components during transit.
Step 2: Remove Pedals
- Use a pedal wrench or Allen key.
- Remember: left pedal unscrews clockwise, right pedal unscrews counterclockwise.
- Place pedals in a zip bag.
Step 3: Remove Wheels
- Deflate tires slightly (especially for flights, though most modern tubeless setups handle altitude fine).
- Place wheels in padded wheel bags or wrap in foam.
- Protect disc rotors with guards.
Step 4: Remove Seatpost and Saddle
- Mark your seatpost height with tape before removal.
- Wrap in foam and store separately.
Step 5: Remove Handlebars and Stem
- Loosen faceplate bolts, remove handlebar.
- Leave cables attached if possible, but carefully secure them against the frame with padding.
- Wrap bars in bubble wrap or foam.
Step 6: Remove or Protect Rear Derailleur
- Unscrew the derailleur from the hanger (do not disconnect cables).
- Wrap in bubble wrap.
- Optionally use a derailleur guard.
Step 7: Protect Frame and Fork
- Use pipe insulation or foam around all tubes.
- Pay special attention to the fork legs, chainstays, and top tube.
- Secure everything with Velcro straps, not tape (to avoid sticky residue).
Step 8: Pack Components
- Place pedals, skewers, tools, and small parts in a labeled bag.
- Keep them in the bike case’s accessory pockets.
Step 9: Pack the Bike in the Case/Bag
- Lay the frame in first, secured with straps.
- Add wheels on each side in padded compartments.
- Fill gaps with clothing, shoes, or soft items (great way to maximize space).
Step 10: Final Checks
- Shake test: gently move the case—nothing should rattle.
- Zip or lock the case securely.
- Label with your name, phone, and “FRAGILE: BICYCLE.”
Airline Policies & Fees in 2026
Bike fees vary wildly by airline. Here’s the current snapshot:
- Delta / United / American: Count bikes as standard checked bags, but oversized charges may apply if >50 lbs.
- Southwest: Flat $75 fee per bike case.
- Alaska Airlines: Bikes fly as regular checked bags, no oversize fee if under 50 lbs.
- International carriers (Lufthansa, KLM, Emirates): Often ~$100–$150 per bike each way.
–> Pro Tip: Always check your airline’s latest “Sports Equipment” policy page before flying.
Road Trips & Bike Shipping
Flying isn’t the only way to move your bike.
Road Trips
- Use a hitch rack with frame or wheel mounts.
- Cover bike with a weatherproof cover.
- For long distances, consider partial disassembly and trunk packing.
Shipping Services
- BikeFlights and ShipBikes.com partner with FedEx/UPS for discounted bike shipping.
- Often cheaper and less stressful than airline baggage fees.
Get a shipping quote:
Tips from the Pros
- Photograph your bike before packing: useful for insurance claims.
- Carry tools with you in a separate bag: some airlines restrict tools in bike cases.
- Loosen stem bolts slightly: reduces stress on the fork during transit.
- Travel insurance: consider a rider that covers sporting equipment.
- Reassembly on arrival: use your torque wrench to reinstall bars, seatpost, and pedals.
Common Mistakes to Avoid
- Forgetting to deflate tires (some airlines still require it).
- Leaving derailleur attached to hanger (high risk of bending).
- Using tape directly on frame paint.
- Packing without rotor guards (warped rotors are common).
- Overloading case with extra gear, pushing it over airline weight limits.
Packing Checklist
Before you leave, double-check you have:
- Bike case / bag.
- Pedals removed + bagged.
- Wheels removed + protected.
- Handlebars removed + wrapped.
- Derailleur removed or protected.
- Frame padded with insulation.
- Accessories (helmet, shoes, tools, bottles).
- ID label on case.
Comparison Table: Bike Travel Case Options
| Case Type | Weight | Cost Range | Protection | Storage | Best For |
|---|---|---|---|---|---|
| Hard Case | 25–35 lbs | $500–$800 | Maximum | Bulky | Racers, international travel |
| Soft Bag | 15–25 lbs | $250–$500 | Moderate | Folds flat | Touring, mixed travel |
| Cardboard Box | ~15 lbs | $50–$100 | Low | Disposable | One-time use, budget travel |
| DIY Wrap | 5–10 lbs | <$50 | Minimal | Compact | Short road trips |
Which Option Should You Choose?
- Hard case → if you’re flying internationally or have a high-end carbon bike.
- Soft bag → if you want flexibility, lower cost, and easier storage.
- Cardboard box → if you’re on a budget or only moving once.
- DIY wrap → if you’re driving, not flying.
Final Verdict
Traveling with a bike doesn’t have to be stressful. By investing in a proper case or bag, carefully protecting delicate components, and following a systematic packing process, you can ensure your bike arrives safely—ready to ride at your destination.
If you’re a frequent traveler, a hard case like the Thule RoundTrip is worth every penny for peace of mind. Occasional flyers may find a soft bag sufficient. And for one-time movers, a cardboard box can do the job on a budget.
No matter which method you choose, the key is preparation: the more carefully you pack, the smoother your travel experience will be.
Shop on Amazon →Related Content:
- Best E-Bike Brands
- Best Mountain Bike Brands
- Trek vs Specialized
- How To Wash a Bike
- How To Lube a Bike Chain
Why Trust This Guide?
BestBikeBrands is built by lifelong cyclists with decades of real-world experience — in the shop, on the trail, and behind the wrench. Our goal is simple: to help riders choose the best bikes and gear with confidence, backed by expert insights and hands-on testing. Learn more about us →